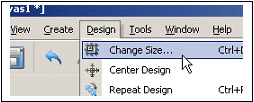
1. Open the design. Then on the top tool bar choose Design ->Change Size.
2. Left click on CHANGE SIZE (see picture below)
In this box you can either size up in inches/metric or by percentage: (see picture below)
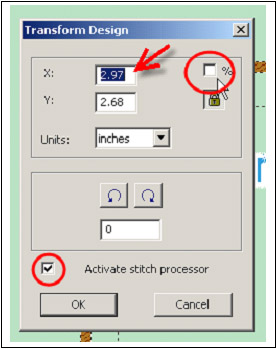
3. Typing in a new number in the X box will change the Y number proportionally. Leave the Stitch Processor enabled to add or reduce the stitch count for the pattern.
You can size up by percentages too. Just click on the % box and then size up. Do not size a pattern more than 49% or the stitch processor will not be activated. So the largest you can make a pattern is 149% of the current size. The smallest is 51% of the current size.
You can also rotate the pattern in this dialog box by selecting a direction and then typing in an amount.
You can ‘Select Design’ and drag it larger, but be aware that it will not activate the stitch processor when you are sizing an imported design file. You will have a resized pattern with the original number of stitches in the pattern.
It’s only when sizing in the Design->Change Size dialog box that you will regenerate the stitches.